 70 Morley Cresent, Kelloe, Durham DH64NS
The Complete Beginner’s Guide to Resin Paths and Walkway Design
Resin paths have become a favourite for homeowners in Durham who want a functional, stylish, and low-maintenance walkway. Offering a…

Why you can trust our content

At a glance
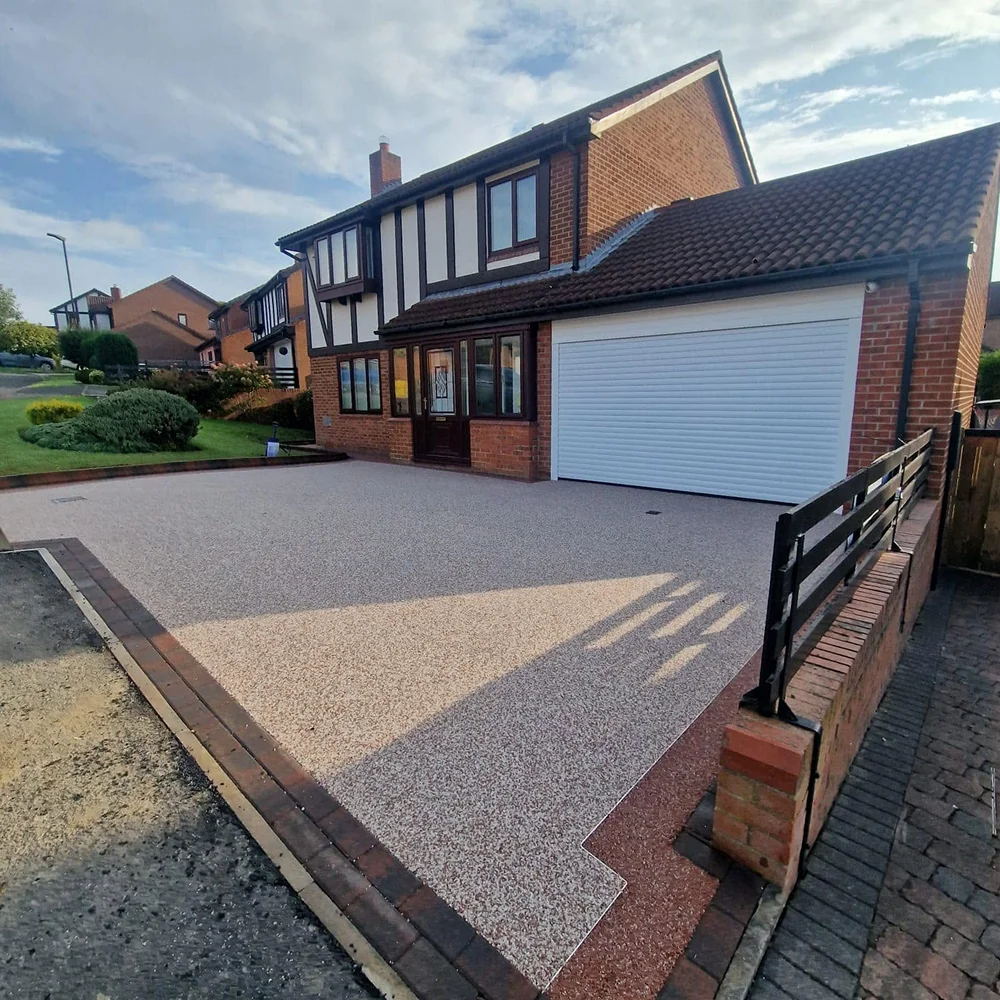
Resin paths have become a favourite for homeowners in Durham who want a functional, stylish, and low-maintenance walkway. Offering a smooth, seamless finish, resin paths not only look attractive but also complement gardens and driveways. But if you’re new to resin surfacing, it can feel overwhelming to plan a path that meets your needs and fits your budget.
This guide walks you through everything you need to know about resin paths – from choosing materials and designing layouts to understanding costs and finding professional installers. By the end, you’ll be confident in planning a path that enhances your home’s exterior while standing the test of time.
What Are Resin Paths Made Of?
Resin paths rely on two key components: aggregates and resin binders. Together, they form a durable, attractive surface that can be customised to suit any garden style.
Some paths may include additional stabilising layers beneath the surface, such as compacted hardcore or tarmac, to improve strength and longevity.
How Do You Design a Resin Path?
Creating an effective resin path involves more than simply selecting materials. Here are key design considerations:
Why Choose Resin Paths Over Other Materials?
Homeowners in Durham often compare resin paths with traditional options like concrete, slabs, or brick. Resin offers several advantages:
What Is the Cost of Resin Paths?
Cost is a common concern when planning a resin path. Prices depend on materials, size, and complexity. While resin may have a higher upfront cost than traditional paving, the long-term benefits – durability, minimal maintenance, and enhanced appearance – often outweigh the initial investment.
Here’s a general breakdown:
| Path Size | Average Resin Path Cost (Durham) | Notes |
| Small (2–5m²) | £500–£900 | Ideal for side entrances or garden links |
| Medium (5–10m²) | £900–£1,800 | Suitable for central walkways or connecting patios |
| Large (10–20m²) | £1,800–£3,500 | Main garden paths or larger drive access points |
Keep in mind that intricate curves, gradients, or decorative patterns may increase the cost. Always get a bespoke quote from resin path installers in Durham for the most accurate estimate.
Choose your preferred outdoor space finish?

Resin

Tarmac
It just takes 2 minutes
And then you can book a free consultation
How Are Resin Paths Installed?
Professional installation is crucial for a durable, long-lasting path. The process generally follows these steps:
Professional installers ensure each layer is applied correctly, which is key to avoiding cracks, pooling, or uneven surfaces.
Case Study: Resin Path Installation in a Durham Garden
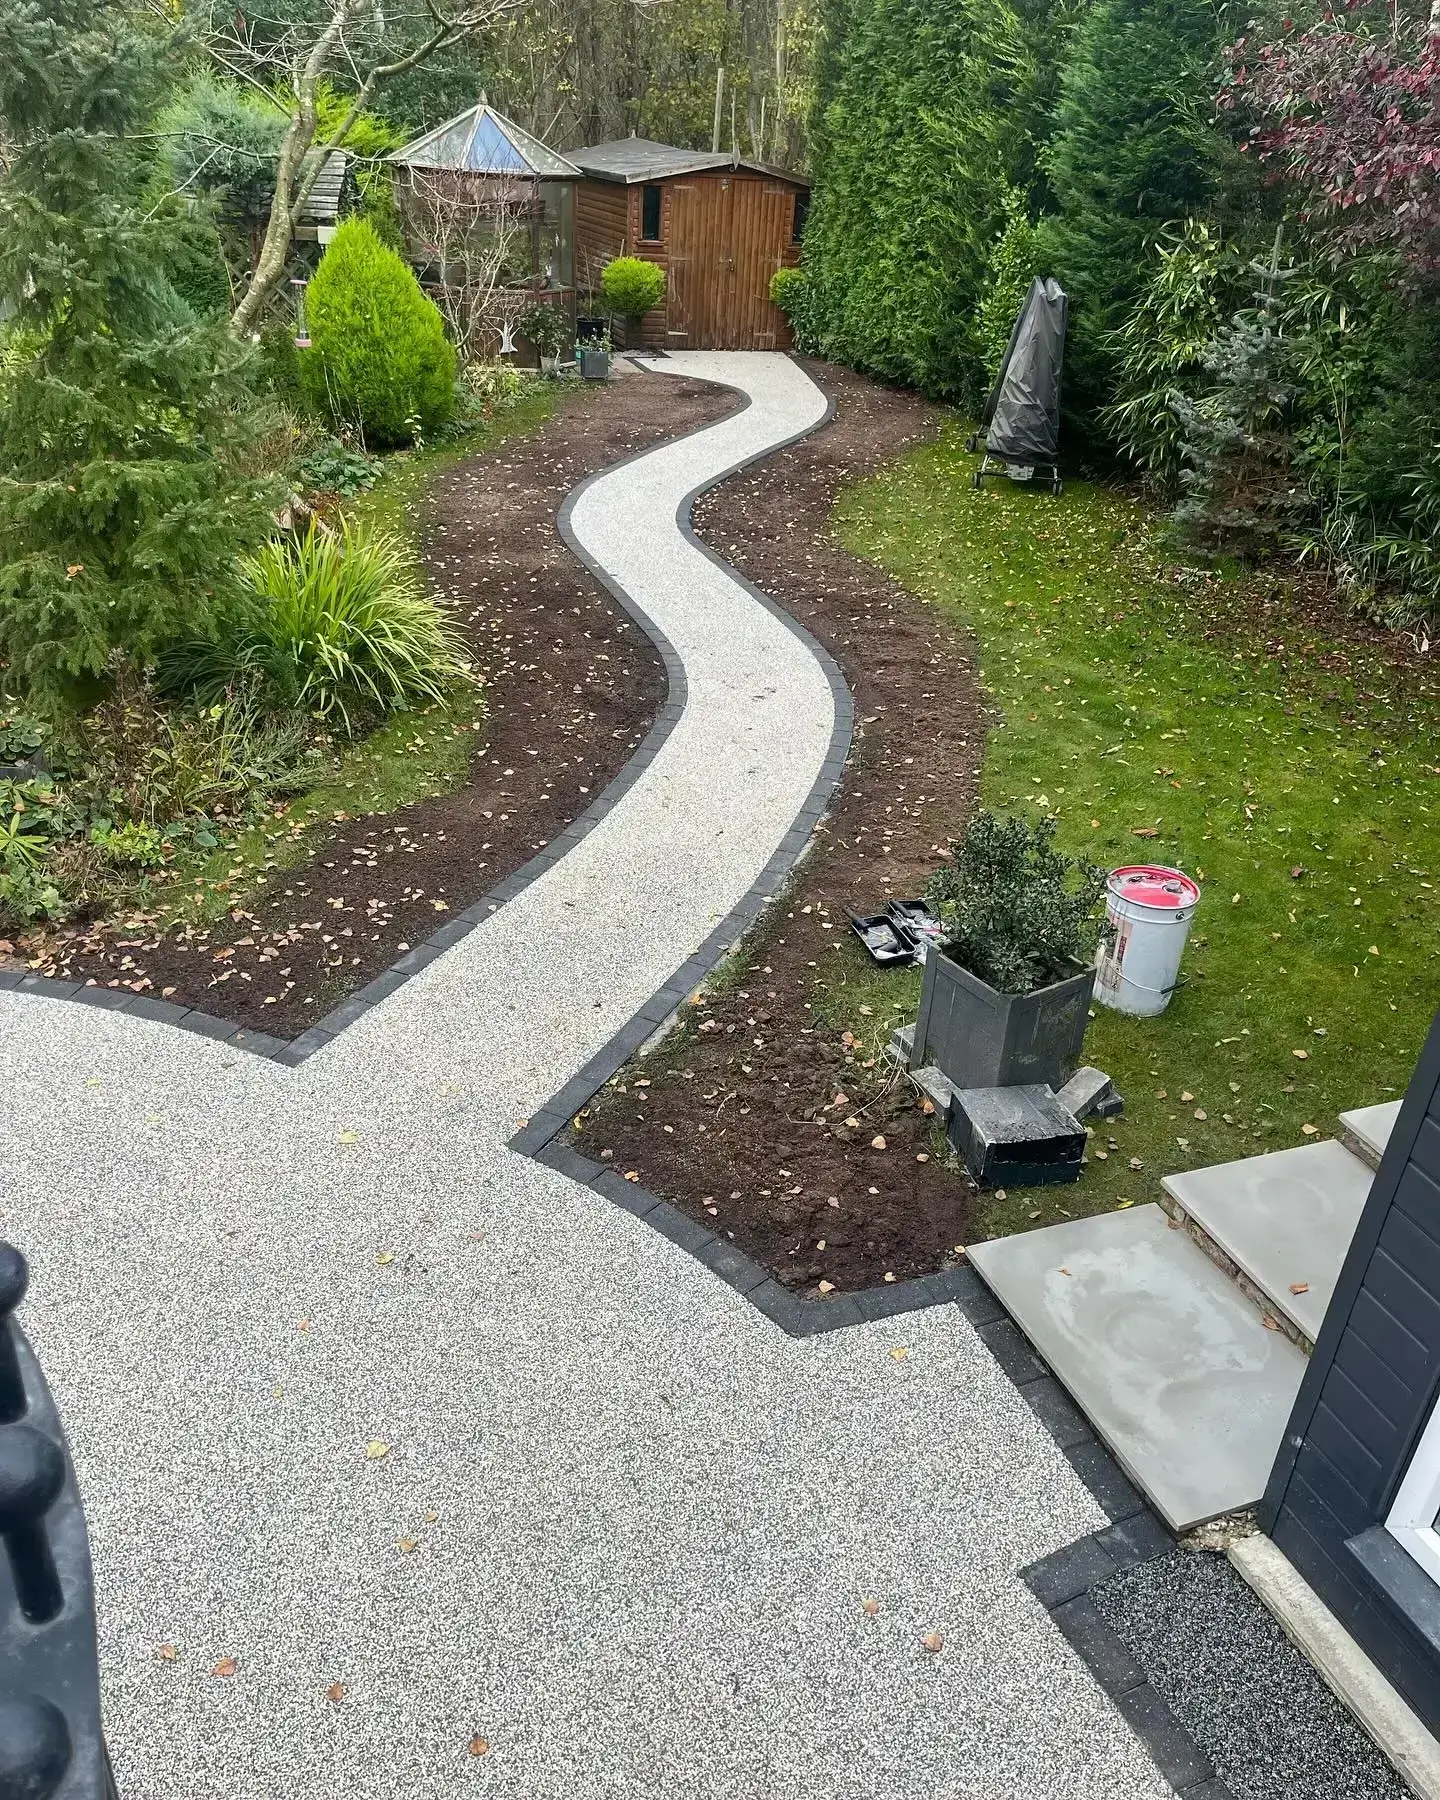
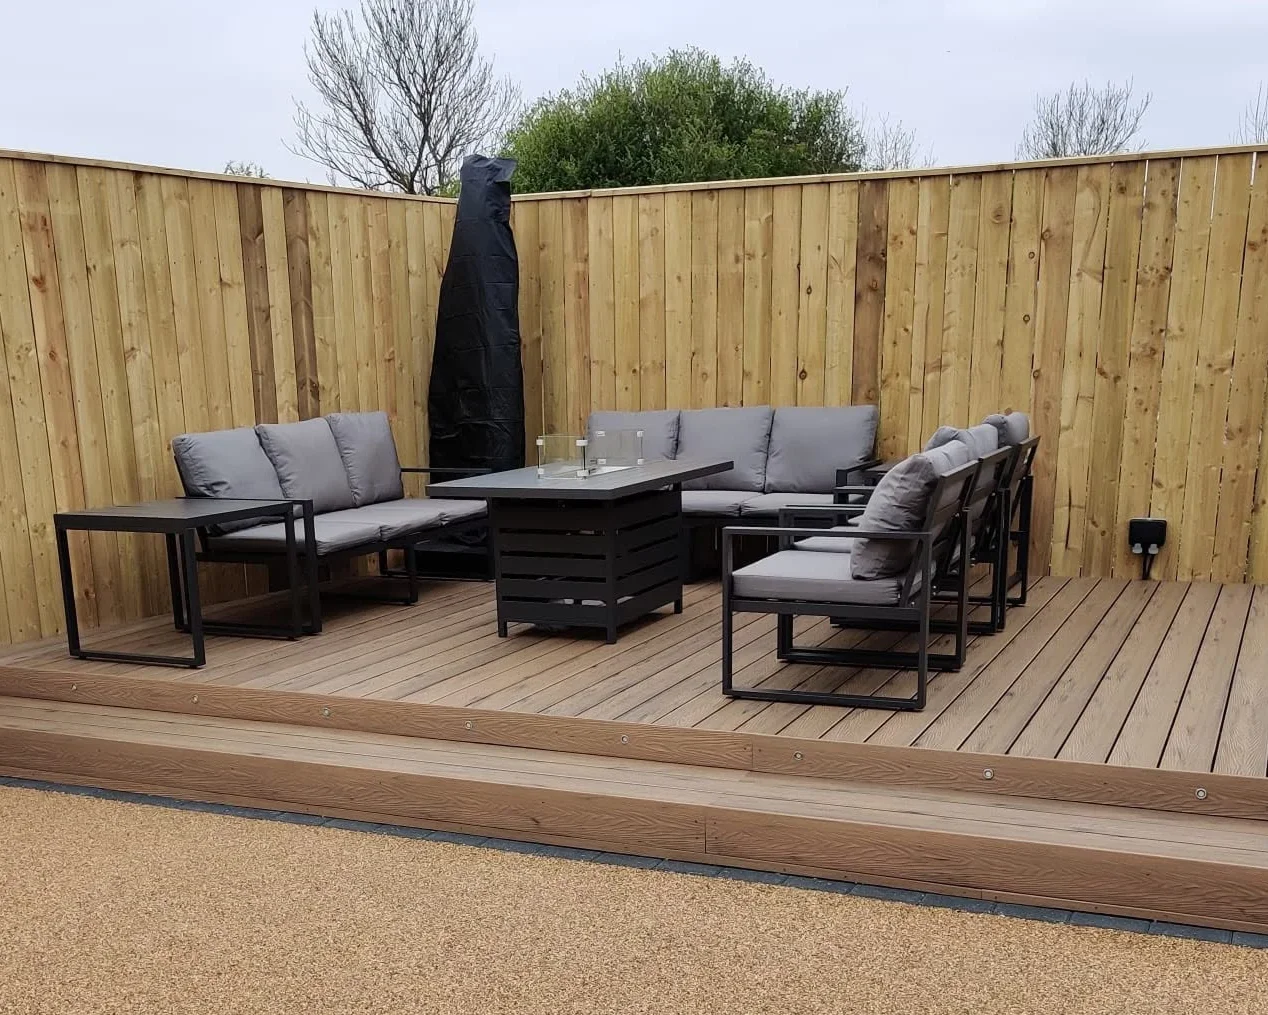
A Durham homeowner wanted a curved garden path connecting their patio to a side gate. The property had uneven soil and limited space, so preparation was key.
The final result was a visually appealing, durable walkway that complemented both the patio and surrounding garden.
Resin paths offer a flexible, durable, and visually attractive solution for Durham homeowners seeking long-lasting walkways. By understanding the materials, design considerations, installation process, and costs, you can plan a resin path that enhances your garden and property value.
For personalised advice and professional installation, contact North East Surfacing. Our team of expert resin path installers in Durham can help you design and create a path that meets your style, needs, and budget.
Related articles
Choose your preferred outdoor space finish?
Resin
Tarmac
At a glance
Resin paths have become a favourite for homeowners in Durham who want a functional, stylish, and low-maintenance walkway. Offering a smooth, seamless finish, resin paths not only look attractive but also complement gardens and driveways. But if you’re new to resin surfacing, it can feel overwhelming to plan a path that meets your needs and fits your budget.
This guide walks you through everything you need to know about resin paths – from choosing materials and designing layouts to understanding costs and finding professional installers. By the end, you’ll be confident in planning a path that enhances your home’s exterior while standing the test of time.
What Are Resin Paths Made Of?
Resin paths rely on two key components: aggregates and resin binders. Together, they form a durable, attractive surface that can be customised to suit any garden style.
Some paths may include additional stabilising layers beneath the surface, such as compacted hardcore or tarmac, to improve strength and longevity.
How Do You Design a Resin Path?
Creating an effective resin path involves more than simply selecting materials. Here are key design considerations:
Why Choose Resin Paths Over Other Materials?
Homeowners in Durham often compare resin paths with traditional options like concrete, slabs, or brick. Resin offers several advantages:
What Is the Cost of Resin Paths?
Cost is a common concern when planning a resin path. Prices depend on materials, size, and complexity. While resin may have a higher upfront cost than traditional paving, the long-term benefits – durability, minimal maintenance, and enhanced appearance – often outweigh the initial investment.
Here’s a general breakdown:
| Path Size | Average Resin Path Cost (Durham) | Notes |
| Small (2–5m²) | £500–£900 | Ideal for side entrances or garden links |
| Medium (5–10m²) | £900–£1,800 | Suitable for central walkways or connecting patios |
| Large (10–20m²) | £1,800–£3,500 | Main garden paths or larger drive access points |
Keep in mind that intricate curves, gradients, or decorative patterns may increase the cost. Always get a bespoke quote from resin path installers in Durham for the most accurate estimate.
Choose your preferred outdoor space finish?
Resin
Tarmac
It just takes 2 minutes
And then you can book a free consultation
How Are Resin Paths Installed?
Professional installation is crucial for a durable, long-lasting path. The process generally follows these steps:
Professional installers ensure each layer is applied correctly, which is key to avoiding cracks, pooling, or uneven surfaces.
Case Study: Resin Path Installation in a Durham Garden
A Durham homeowner wanted a curved garden path connecting their patio to a side gate. The property had uneven soil and limited space, so preparation was key.
The final result was a visually appealing, durable walkway that complemented both the patio and surrounding garden.
Resin paths offer a flexible, durable, and visually attractive solution for Durham homeowners seeking long-lasting walkways. By understanding the materials, design considerations, installation process, and costs, you can plan a resin path that enhances your garden and property value.
For personalised advice and professional installation, contact North East Surfacing. Our team of expert resin path installers in Durham can help you design and create a path that meets your style, needs, and budget.
Related articles
Choose your preferred outdoor space finish?
Resin
Tarmac


