 70 Morley Cresent, Kelloe, Durham DH64NS
How Are Resin Paths Installed? Step-by-Step Breakdown for First-Time Buyers
A well-laid garden path sounds simple, until you start comparing options and realise how many variables affect the finish. Many…

Why you can trust our content

At a glance
A well-laid garden path sounds simple, until you start comparing options and realise how many variables affect the finish. Many homeowners like resin because it can look clean and modern without feeling overly “show-home”, and it can be easier to live with than loose gravel or heavily jointed paving.
This guide explains how resin paths are typically installed, what happens at each stage, and what you should check before agreeing a start date. It’s written for first-time buyers in Durham, with practical detail rather than sales talk.
What type of resin system is used for paths?
Most domestic paths use a resin bound system, where the aggregate is mixed with resin and laid as a consistent layer over a prepared base. This matters because the base and edging do the heavy lifting for long-term durability, while the resin layer delivers the look and the day-to-day walking surface.
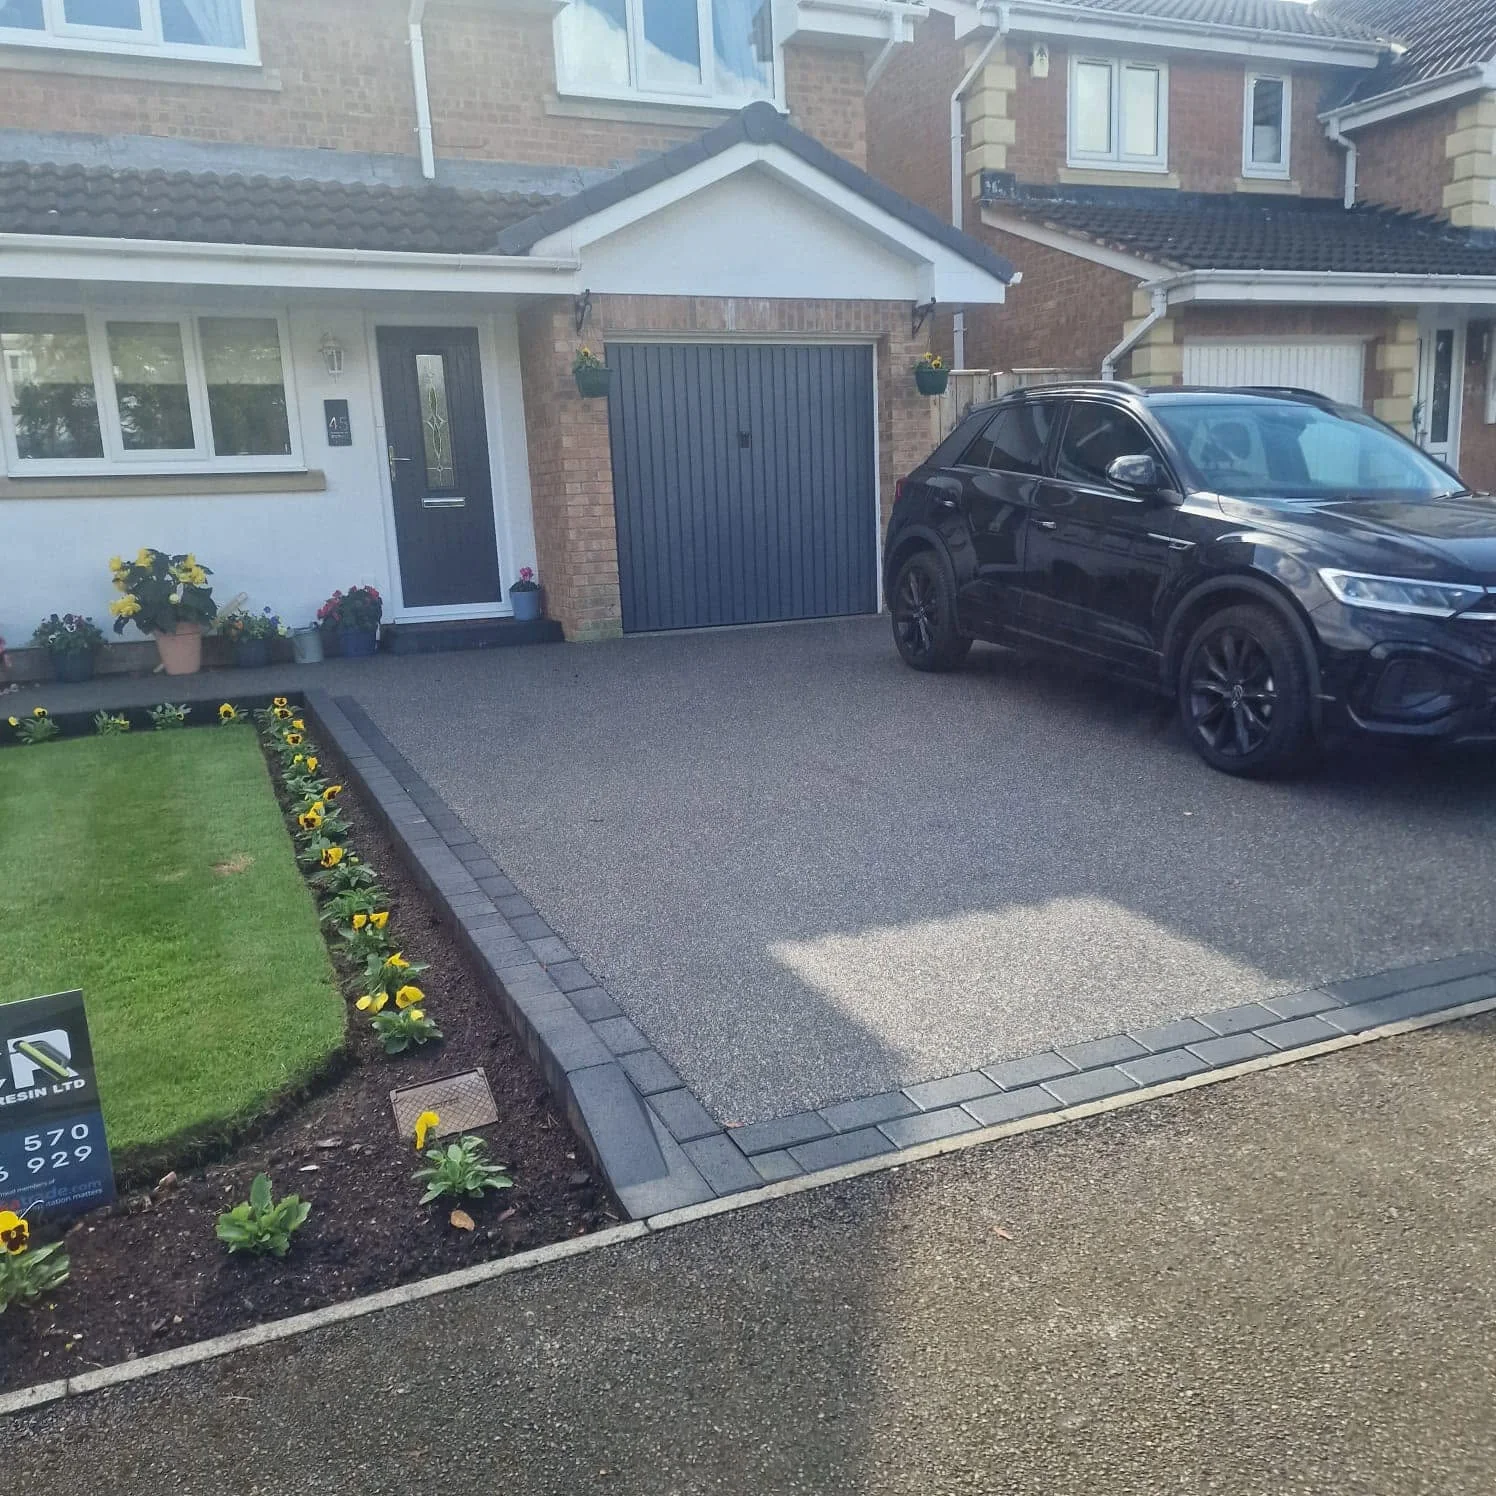
A path may be installed as a standalone feature from gate to front door, or as part of a wider resin driveway installation where the walkway and drive share the same finish for a consistent look.
What needs to happen before installation day?
Before any resin is laid, a good installer should assess the route and agree the practical details that affect both performance and appearance.
Typical pre-install checks include:
If you’re comparing quotes, ask each company to confirm what they are assuming about base preparation. This is often where price differences come from.
How is the base prepared for a resin path?
Base preparation is the most important part of the job. Resin is not designed to “fix” a weak or uneven base. If the base is unstable, you may see cracking, movement, or uneven areas later.
Common base options for paths include:
Your installer should check for:
For many homeowners, the best outcome is achieved by treating the base as a proper construction layer, not a quick patch.
Is edging really necessary?
Yes, in most cases. Edging gives the resin a firm boundary and prevents the finished path from spreading or breaking at the edges over time. It also provides a clean visual line, which is one of the reasons resin looks so “tidy” when done well.
Common edging approaches include:
Edging detail should be agreed early because it affects finished width, line accuracy, and how the path sits against your garden.
Step-by-step: how resin paths are installed
Below is a straightforward breakdown of what typically happens on site.
1) Setting out and protecting the area
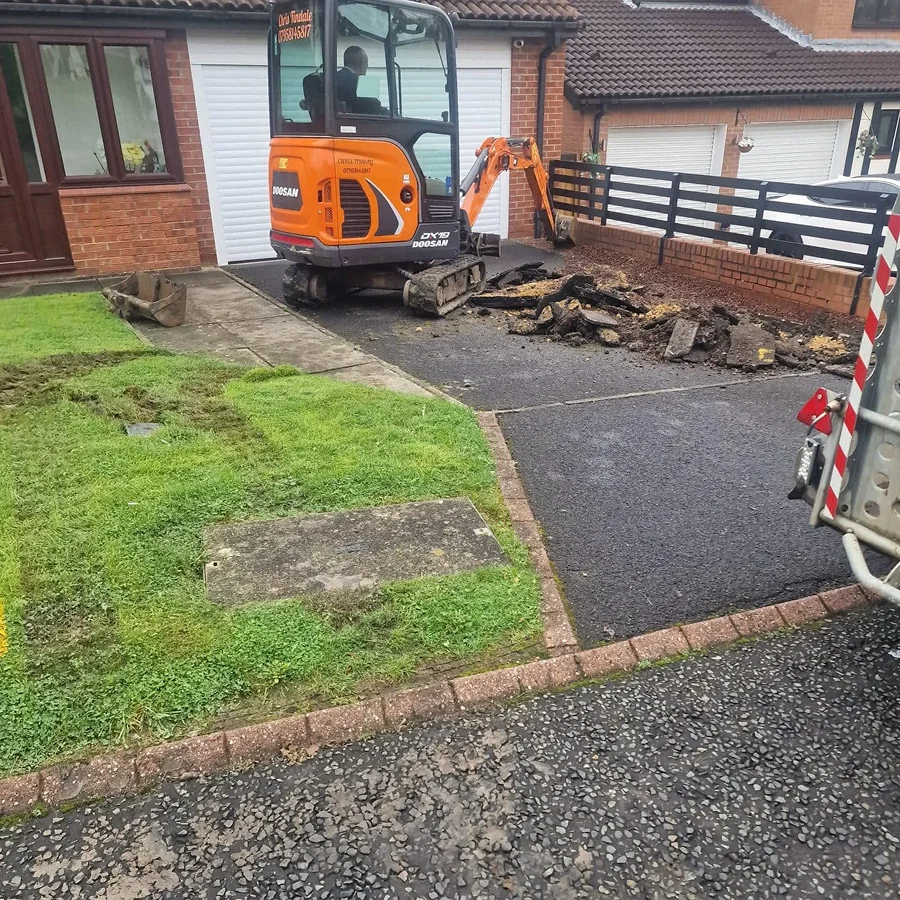
Installers will mark the route, confirm levels, and protect nearby surfaces. If the path runs close to walls, fencing, or planted borders, careful preparation helps avoid mess and ensures crisp edges.
2) Base cleaning and priming
The base is cleaned thoroughly. Any contamination such as moss, oil, loose grit, or flaking material needs to be dealt with. Some systems require priming to improve bonding between the base and the resin layer.
3) Mixing the resin and aggregate
The aggregate is mixed with resin to coat each stone evenly. The mix must be consistent to avoid weak points, patchiness, or colour variation.
4) Laying and levelling
The mixed material is laid to an agreed depth and levelled carefully. A skilled team will focus on:
5) Finishing details and checks
The team will inspect joins, edges, and any border details. If the path connects into a drive, this is also where the installer ensures the finish is consistent across both areas, particularly on projects that include resin driveway installation work.
6) Curing time
The surface needs time to cure before use. Weather can affect curing time, so you should receive clear guidance on when you can walk on it and when heavier use is safe.
How long does installation usually take?
For a typical domestic path, the on-site work is often completed quickly once base preparation is done. The timeline depends on whether the base is already suitable or needs building from scratch.
Here’s a practical guide:
| Path Stage | Typical Timeframe | What can change it? |
| Survey and specification | 30 to 60 minutes | Access, drainage complexity |
| Base repairs or replacement | 1 to 3 days | Removal work, ground conditions |
| Resin laying | Often 1 day | Size, detailing, weather |
| Initial curing | Several hours | Temperature and humidity |
| Full cure for heavier use | 24 to 48 hours | Weather and product system |
A good installer will set expectations clearly and avoid rushing the curing stage.
Choose your preferred outdoor space finish?

Resin

Tarmac
It just takes 2 minutes
And then you can book a free consultation
What affects resin path costs?
Homeowners often ask about resin path installation cost early on, and that’s sensible. Pricing varies because the project is not just about square metres, it’s about the work needed to create a stable, long-lasting base.
Cost is typically influenced by:
If you get two very different prices, check whether one quote includes full base work while the other assumes the base is already perfect.
https://nesurfacing.com/resin-driveway-costs-breakdown-what-affects-pricing-in-2025
Common mistakes to avoid
A resin path can look brilliant for years, but most issues come from shortcuts during preparation. The most common pitfalls include:
A quick conversation during the survey stage can prevent most of these problems.
Resin can be an excellent choice for a path because it delivers a neat, modern finish while staying practical for everyday life. The key is focusing on base preparation, edging, and correct laying technique, not just the surface appearance. If you keep those fundamentals right, you’ll get a path that looks good, feels solid, and is straightforward to live with.
Related articles
Choose your preferred outdoor space finish?
Resin
Tarmac
At a glance
A well-laid garden path sounds simple, until you start comparing options and realise how many variables affect the finish. Many homeowners like resin because it can look clean and modern without feeling overly “show-home”, and it can be easier to live with than loose gravel or heavily jointed paving.
This guide explains how resin paths are typically installed, what happens at each stage, and what you should check before agreeing a start date. It’s written for first-time buyers in Durham, with practical detail rather than sales talk.
What type of resin system is used for paths?
Most domestic paths use a resin bound system, where the aggregate is mixed with resin and laid as a consistent layer over a prepared base. This matters because the base and edging do the heavy lifting for long-term durability, while the resin layer delivers the look and the day-to-day walking surface.
A path may be installed as a standalone feature from gate to front door, or as part of a wider resin driveway installation where the walkway and drive share the same finish for a consistent look.
What needs to happen before installation day?
Before any resin is laid, a good installer should assess the route and agree the practical details that affect both performance and appearance.
Typical pre-install checks include:
If you’re comparing quotes, ask each company to confirm what they are assuming about base preparation. This is often where price differences come from.
How is the base prepared for a resin path?
Base preparation is the most important part of the job. Resin is not designed to “fix” a weak or uneven base. If the base is unstable, you may see cracking, movement, or uneven areas later.
Common base options for paths include:
Your installer should check for:
For many homeowners, the best outcome is achieved by treating the base as a proper construction layer, not a quick patch.
Is edging really necessary?
Yes, in most cases. Edging gives the resin a firm boundary and prevents the finished path from spreading or breaking at the edges over time. It also provides a clean visual line, which is one of the reasons resin looks so “tidy” when done well.
Common edging approaches include:
Edging detail should be agreed early because it affects finished width, line accuracy, and how the path sits against your garden.
Step-by-step: how resin paths are installed
Below is a straightforward breakdown of what typically happens on site.
1) Setting out and protecting the area
Installers will mark the route, confirm levels, and protect nearby surfaces. If the path runs close to walls, fencing, or planted borders, careful preparation helps avoid mess and ensures crisp edges.
2) Base cleaning and priming
The base is cleaned thoroughly. Any contamination such as moss, oil, loose grit, or flaking material needs to be dealt with. Some systems require priming to improve bonding between the base and the resin layer.
3) Mixing the resin and aggregate
The aggregate is mixed with resin to coat each stone evenly. The mix must be consistent to avoid weak points, patchiness, or colour variation.
4) Laying and levelling
The mixed material is laid to an agreed depth and levelled carefully. A skilled team will focus on:
5) Finishing details and checks
The team will inspect joins, edges, and any border details. If the path connects into a drive, this is also where the installer ensures the finish is consistent across both areas, particularly on projects that include resin driveway installation work.
6) Curing time
The surface needs time to cure before use. Weather can affect curing time, so you should receive clear guidance on when you can walk on it and when heavier use is safe.
How long does installation usually take?
For a typical domestic path, the on-site work is often completed quickly once base preparation is done. The timeline depends on whether the base is already suitable or needs building from scratch.
Here’s a practical guide:
| Path Stage | Typical Timeframe | What can change it? |
| Survey and specification | 30 to 60 minutes | Access, drainage complexity |
| Base repairs or replacement | 1 to 3 days | Removal work, ground conditions |
| Resin laying | Often 1 day | Size, detailing, weather |
| Initial curing | Several hours | Temperature and humidity |
| Full cure for heavier use | 24 to 48 hours | Weather and product system |
A good installer will set expectations clearly and avoid rushing the curing stage.
Choose your preferred outdoor space finish?
Resin
Tarmac
It just takes 2 minutes
And then you can book a free consultation
What affects resin path costs?
Homeowners often ask about resin path installation cost early on, and that’s sensible. Pricing varies because the project is not just about square metres, it’s about the work needed to create a stable, long-lasting base.
Cost is typically influenced by:
If you get two very different prices, check whether one quote includes full base work while the other assumes the base is already perfect.
https://nesurfacing.com/resin-driveway-costs-breakdown-what-affects-pricing-in-2025
Common mistakes to avoid
A resin path can look brilliant for years, but most issues come from shortcuts during preparation. The most common pitfalls include:
A quick conversation during the survey stage can prevent most of these problems.
Resin can be an excellent choice for a path because it delivers a neat, modern finish while staying practical for everyday life. The key is focusing on base preparation, edging, and correct laying technique, not just the surface appearance. If you keep those fundamentals right, you’ll get a path that looks good, feels solid, and is straightforward to live with.
Related articles
Choose your preferred outdoor space finish?
Resin
Tarmac


